Advanced-etl-processor
Creating New Import
Creating an Import Script
To load data from a data source into a data target, it is necessary to define the data mapping between the target table and the data source.
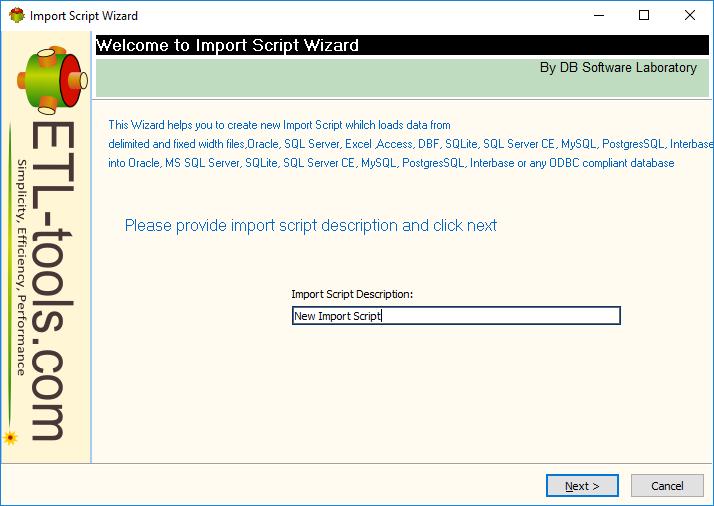
The simplest way to create an Import Script is by using the Import Script Wizard.
Steps to Create an Import Script
- Open the System Menu and select New → Import.
- In the Description field, enter the name of the Import you are about to create.
- Follow the step-by-step instructions provided by the wizard to define the data source, target, and mapping.
The wizard simplifies the process, ensuring accurate mapping and efficient data import setup.
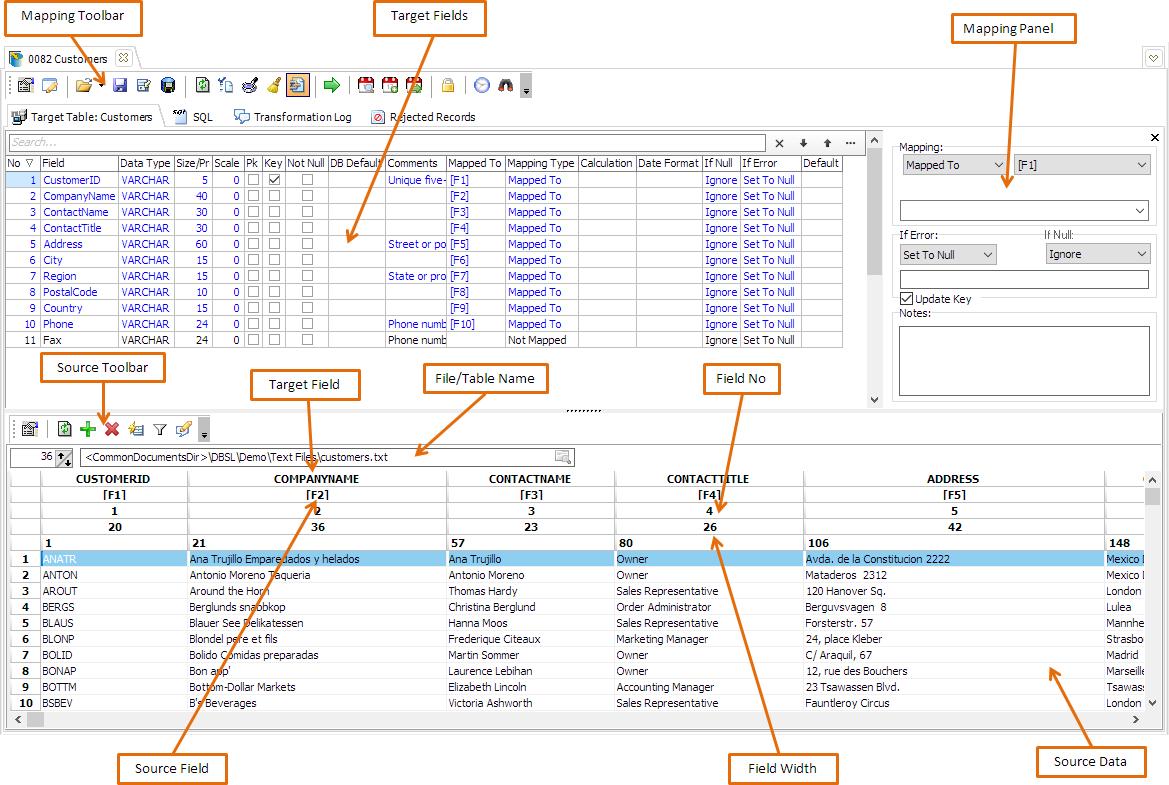
Mapping Screen Overview
To access the mapping screen:
-
Open a Demo Import
- Double-click on any demo Import script from the list.
-
View the Import Editor
- The Import editor will appear, allowing you to configure and review the data mapping between the source and target.
The mapping screen is where the relationships between source fields and target fields are defined, ensuring accurate data transformation during the import process.
Main Toolbar
Toolbar Options
-
Data Target Options
Configure options related to the target data destination. -
Write Notes/Documentation
Add or edit notes to document the Import Script. -
Load Import Script from File
Open and load an Import Script stored in a file. -
Save Import Script to File
Save the current Import Script to an external file. -
Save As
Save the Import Script under a new name or location. -
Save Import to the Repository
Commit the Import Script to the repository for centralized access. -
Refresh Fields List from the Database
Update the fields list by reloading metadata from the database. -
Check Import for Mapping Errors
Validate the Import Script to identify any mapping errors. -
Data Preview
View a sample of the data to verify the mapping configuration. -
Clear Field Mapping
Remove all field mappings in the current script. -
Hide Mapping Panel
Toggle the visibility of the mapping panel. -
Data Import
Execute the Import Script to load data into the target. -
Manage Versions
Access version management for the Import Script. -
Add Version
Save the current Import Script as a new version. -
Revert to Previous Version
Roll back the Import Script to an earlier version. -
Make Import Read-Only
Lock the Import Script to prevent further modifications. -
Schedule for Execution
Add the Import Script to the execution schedule. -
View Execution Log
Access logs for past executions of the Import Script.
Source Toolbar

Source Toolbar
Toolbar Options
-
Data Source Options
Configure settings for the source data, such as file format or database connection details. -
Refresh Source Data
Reload the data from the source to reflect any updates or changes. -
Add New Column
Add a new column to the source field mapping. -
Delete Last Column
Remove the last column from the source field mapping. -
Auto Map Fields
Automatically map source fields to the corresponding target fields based on matching names. -
Filter
Apply filters to the source data to limit or refine the dataset being imported. -
Open Source File/Directory
Open the file or directory containing the source data for review or editing. -
Records to Show
Specify the number of records to display in the preview or editor. -
Source File/Table Name
Displays the name of the source file or database table being used.
Mapping panel
The Mapping Panel displays all relevant information for mapping a specific field. It allows precise configuration of how data flows from the source to the target.
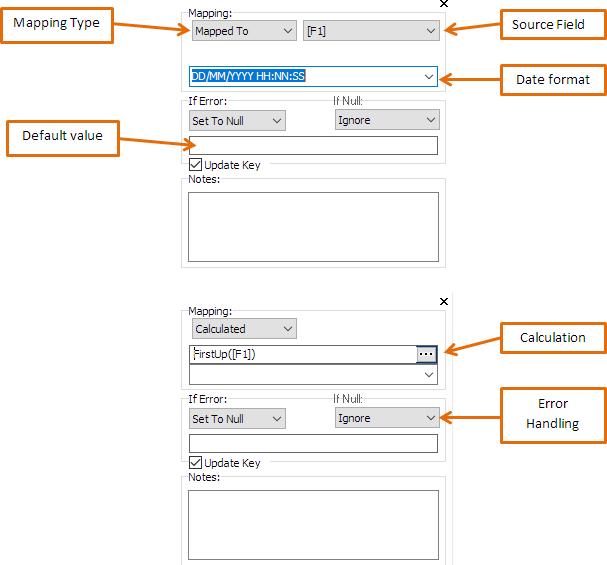
Mapping Methods
-
Direct Mapping
Map fields directly from the source to the target without modification. -
Mapping Through Calculations
Use calculated expressions or functions to transform data before mapping it to the target field.
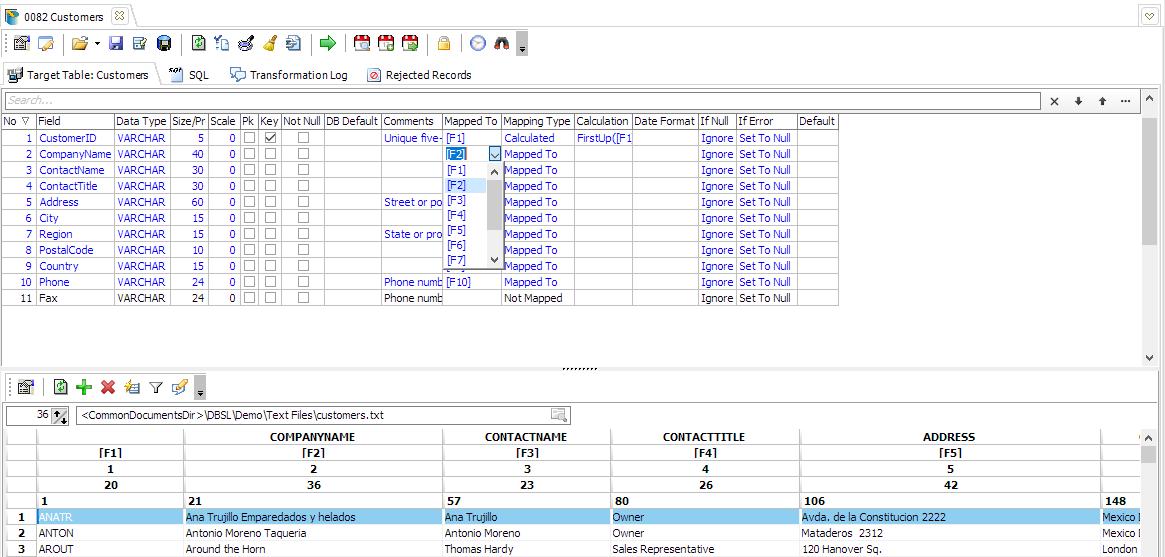
Alternate Mapping Option
If preferred, the Mapping Panel can be hidden, and the mapping can be performed directly in the grid interface for a more streamlined approach.
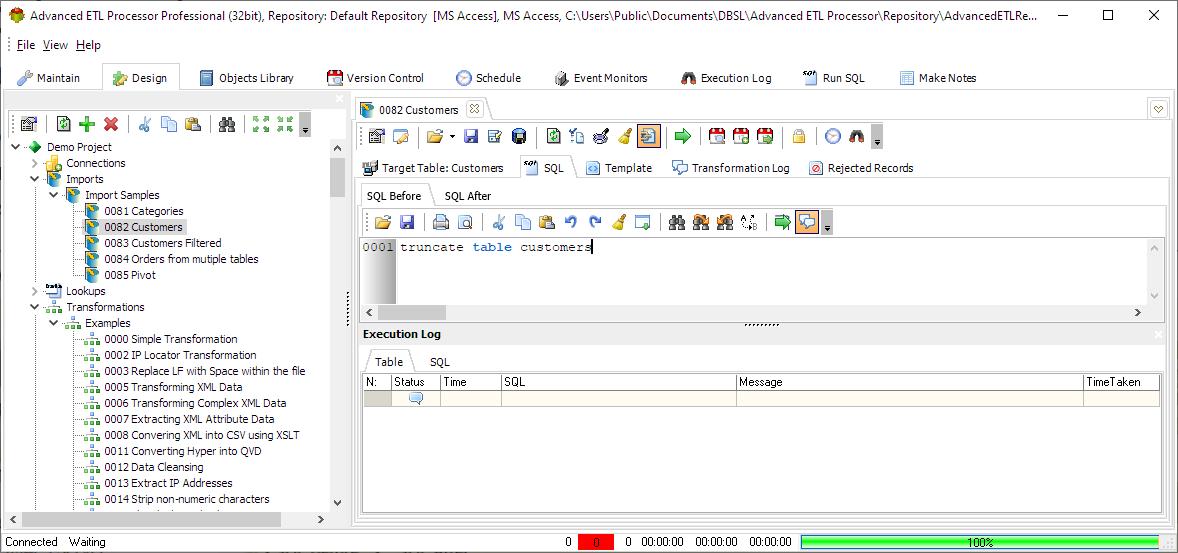
SQL Statements
SQL statements can be executed both before and after the data import process to perform preparatory or cleanup tasks.
Key Details
-
Executing Multiple Statements
To execute multiple SQL statements, a SQL delimiter must be specified. -
Target Connection
All SQL statements are executed against the target database connection. -
Restrictions
SELECTstatements are not allowed in this context.
This functionality ensures smooth integration and enables efficient management of data workflows.
Template tab

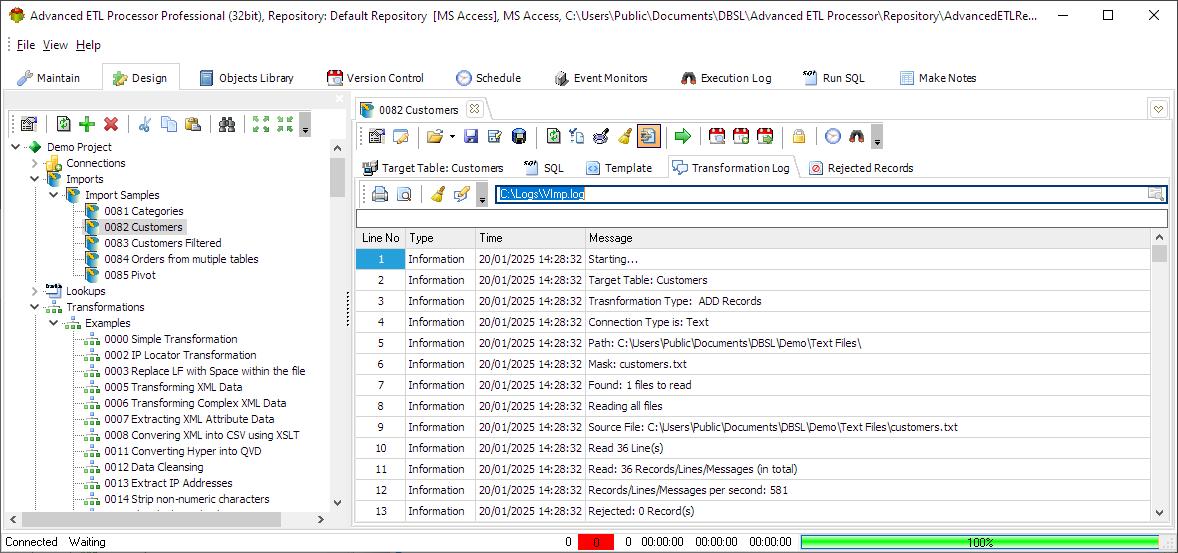
Transformation Log Tab
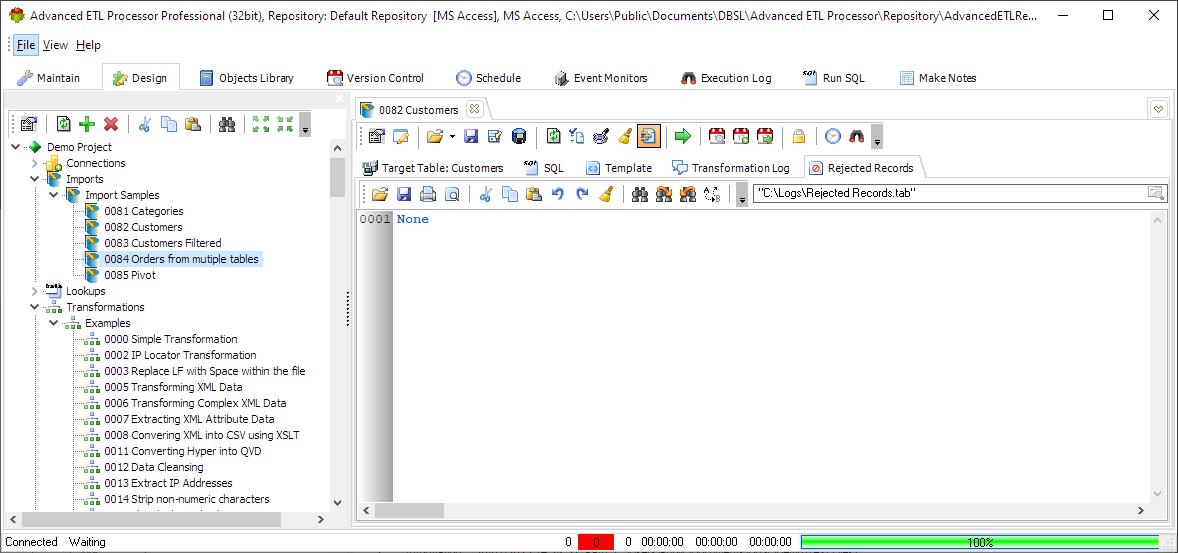
Rejected Records Tab
For more technologies supported by our ETL Software see Advanced ETL Processor Versions
Confused? Ask question on our ETL Forum